Showing posts with label retail. Show all posts

Tuesday, 30 August 2016

Book review - How to create your own jewelry line by Emilie Shapiro

Author Emilie Shapiro sells her jewellery at boutiques, museums and several big-name retailers under her brand ‘Emilie Shapiro Contemporary Metals’ but she started out creating one-off pieces for friends and family as so many of us do! In teaching thousands of students over the years in jewellery production, Shapiro identified a lack of resources to help students to create their own jewellery line. She formulated a business course that provided guidance on everything from designing a coherent collection to marketing it to retailers. This book is an extension of this popular course.


As the cover suggests, the book covers everything you need to turn a home crafting business into a successful jewellery brand —design, production, finance, marketing and retail. Starting at the beginning, it discusses the various options available in setting up a company (probably more useful for US-based readers) as well as providing some really great tips on choosing the right business name and logo. Picking a name that is “versatile and simple, and that people will remember” might seem obvious but as Emilie points out it’s also important to choose a logo that will “look great printed on a large sign that is 2 feet wide, yet will still look clear printed on packaging that is 2 inches wide”. Deciding on light and dark versions will also give you ultimate flexibility later.

The book goes on to cover all aspects of designing with your brand and production in mind. As Shapiro points out, a different approach is required for many designers. In creating your own jewellery line, the focus is on efficiency over creativity, particularly in designing a collection. She suggests that you “aim to design ten pieces for your first collection. As time goes on, redesign pieces to make them more functional and saleable, edit out pieces  that do not sell and add pieces by expanding on what worked.” It all sounds a little cold and soulless for me but that’s the difference between creating on a small scale and creating for retail I guess!


If you can’t quite see yourself pairing back your designs for the retail market and aren’t sure whether you are ready to sacrifice your creativity for the sake of a successful jewellery business you might be thinking that this book is not for you. However, there are some wonderful tips and ideas from Shapiro that you could take advantage of, however you create and sell your jewellery. For example, creating artists’ cards and product line sheets are fantastic ideas and ones I will certainly be trying when I prepare my next collection of jewellery for a retail environment. There is also a whole section on pricing your jewellery —something most of us find tricky to say the least.

Further chapters cover marketing your jewellery line and how and where to sell your pieces. However, probably the most interesting chapter for anyone seriously considering growing their business to the level that Emilie has achieved, is the chapter entitled ‘Insider guidance from industry professionals’. I found lots of little titbits of information here that I will bear in mind when I next approach a gallery or shop with my work.


Overall, this book is a good read with lots of useful hints and information for any jewellery maker. I would say that creators of metal jewellery would find the chapter on producing a collection of particular interest as it covers everything from tools to detailed techniques but there is certainly food for thought for all of us.

We have a copy of ‘How to create your own jewelry line’ to give away to one lucky winner.Comment on this post to be entered into the draw. We will pick a winner at random on Friday 9th September after midday. Look out for our Facebook post for a second chance to enter and for the announcement of the winner.


‘How to create your own jewelry line’ by Emilie Shapiro, published by Lark (£19.99 available from www.gmcgroup.com)
ISBN 978-1-4547-0933-6


Wednesday, 11 May 2016

Display Inspiration Series:2: Stepping up my jewellery display!

If you make jewellery to sell, how you display it should be just as important to you as the jewellery pieces themselves. I show you just how original and different you can make your retail presence with minimal expense and a little creative thinking.

Pots of ideas!
Whilst being busy with The Beading Library and working hard on newsletter tutorials and other projects behind the scenes, I have also been spending time on my own jewellery business Ring O' Roses - Original Jewellery by Helen Bowen

On a recent trip to Malvern, I cam across a crate of mini terracotta flower pots outside an antique shop. All suitably full of character (read: dirty and battered) and cheap as chips. I picked up ten to begin with before I even knew what I was going to do with them but ended up going back for another five once I'd had some interesting ideas for jewellery stands! 


In my head I had a series of pots with miniature wooden trellis for displaying a new range of flower themed earrings. I'd spotted some cheap terracotta coloured clay in The Works which I though would be perfect for both weighting the pots and securing trelliswork but my first task was to design and make the wooden framework that would allow me to hang earrings. 

I did some initial research and discovered you could actually buy 1:12 scale trellis from numerous dollshouse suppliers but at a couple of pounds a pop, that was going to work out rather costly for fifteen pots so I then looked into making my own...

Balsa wood is a popular material in model building and other craft applications and is easily available on Ebay in all sorts of shapes and sizes. I bought a couple of ten packs of balsa wood strips (3x3mm square) that came in foot long lengths and started with a simple ladder design.


The wonderful thing about balsa wood of this size is that you can simply cut it with a pair of sturdy scissors. I cut strips into side supports around 12cm tall and cut four smaller pieces for each pair, each about 3cm long.


Here they are glued together with PVA and awaiting an application of woodstain (pilfered from my husband's shed) to make them look a little more realistic.


Fun, fan-shaped trellis
Once I was confident using the wood, I ventured into making more complicated designs. These fan-shaped supports are my favourite and are the strongest but obviously they use more wood and are quite time-consuming to make!


Free to collector!
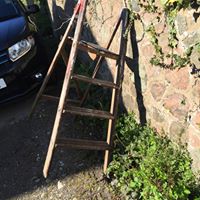
At this point in the proceedings, I came across these medium sized step ladders on a local recycling site - free to a good home! I immediately thought what a great set of shelves they would make for my little pots but as my husband pointed out, I would need to secure the pots somehow if I was going to leave them at the mercy of customers in a retail environment!

Hmmm! This was going to need an engineering solution!


I decided that what I needed were some bolts that I could screw through the steps and into the flower pots (which conveniently all had a single hole in the bottom). However, I also wanted to be able to stand the pots up independent of the ladders if required, so simply embedding a bolt that protruded through the hole in the bottom of the pot, was not going to work. If I filled the pots with clay as I intended to, I wouldn't be able to remove the bolts or access the inside to screw and unscrew a nut.

I spent two days traipsing around DIY and hardware stores in the area, trying to describe to various helpful staff what I wanted. Some 'metal things that I can stick in clay and screw a screw into that aren't rawl plugs and that I can screw and unscrew as I like' didn't seem to exist!

But then I somehow stumbled on the right Google search terms and hey presto! Screwfix's threaded metal inserts were the perfect solution!


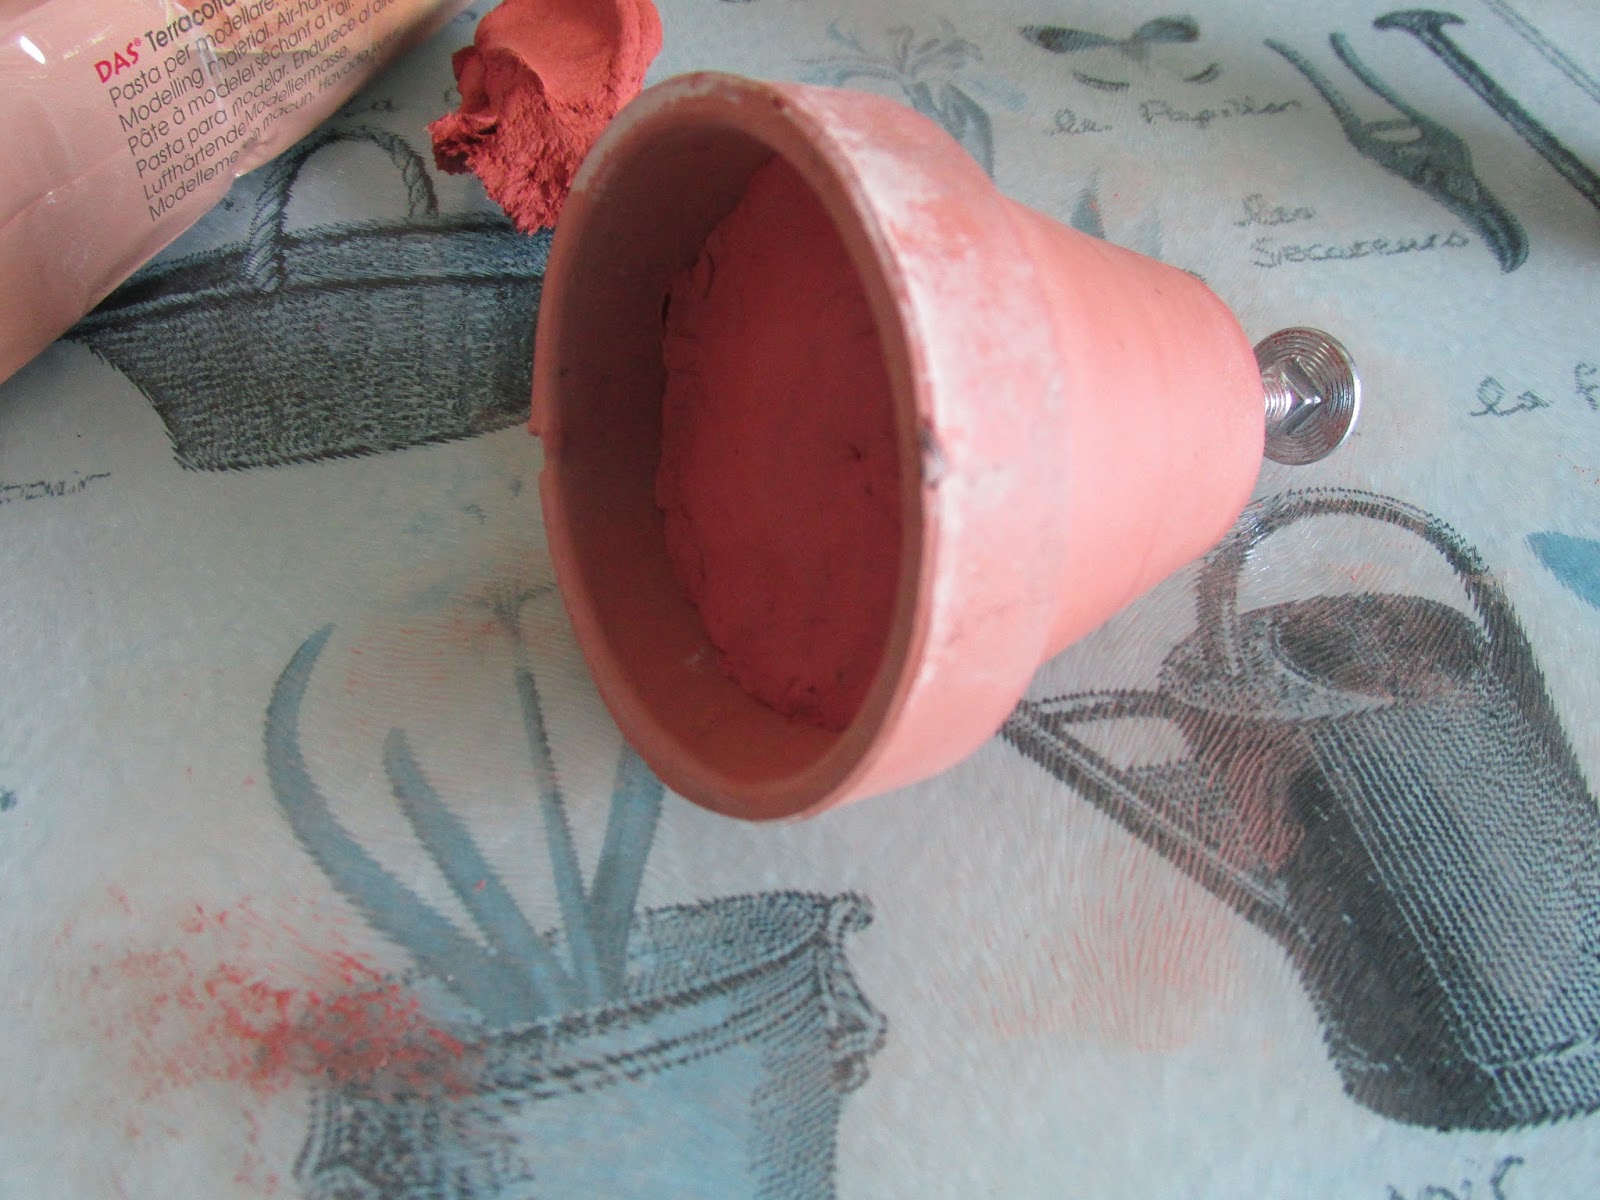
I used two part expoxy to glue an insert to a 30mm washer which would stop the insert from shifting around in the pot or, worse still, falling out the hole in the bottom of the pot.
I then glued the washer/insert ensembles into the bottom of the pots and checked the M6 screws I'd bought (50mm long) would screw in and out easily!


It was then time to fill the pots with clay. I screwed in the screws so clay didn't creep down the hollow insert and filled the pots up to the collar with clay. Do you notice the rather appropriately themed workstop saver I used to work the clay? I only just spotted it!


While the clay was still soft, I pushed the trellis supports into it so they were firmly embedded. I also found some rather fun little chalkboard picks at The Works which I trimmed down and stained to match the trellis. I left them all to dry thoroughly.

Once dry, I noticed that the clay had shrunk away from the edges of the pot slightly (clay shrinks by up to 10% apparently when it dries) so I needed a solution to cover the gaps and look a little more soil-like. A trip to Wilkos (yes, it's amazing the things you find in there!) and I was all set with a large bottle of PVA and some bird grit. I spread a good thick layer of PVA over the clay surface and sprinkled on the grit generously. I left to dry and shook off any excess.

My attention turned to the rather sorry looking step ladders that I'd picked up locally. A good sanding down, and a new slat to fill the gap in the top platform helped a lot. Then a coat of woodstain and the addition of my business name in white chalk paint (using a home made stencil!) gave them the right look. I marked holes for the bolts to go through (five on each shelf) and borrowed my husband's drill to make the holes needed. 


And here is the finished display! 

It wouldn't have been out of place at last weekend's RHS Malvern Spring Show.I now need to finish the jewellery collection that will be placed on it and decide where I am going to install it! What do you think?